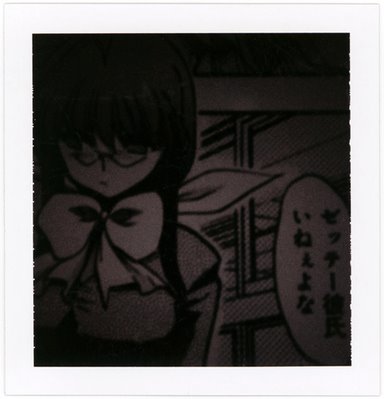
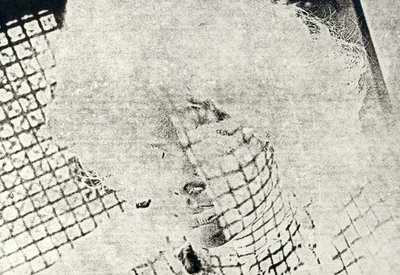
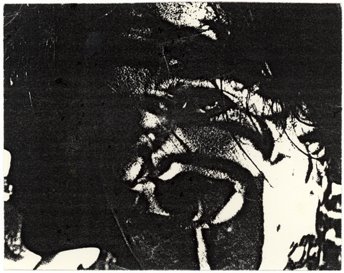
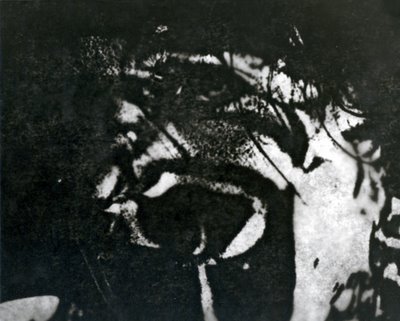
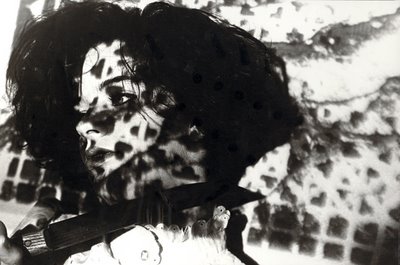
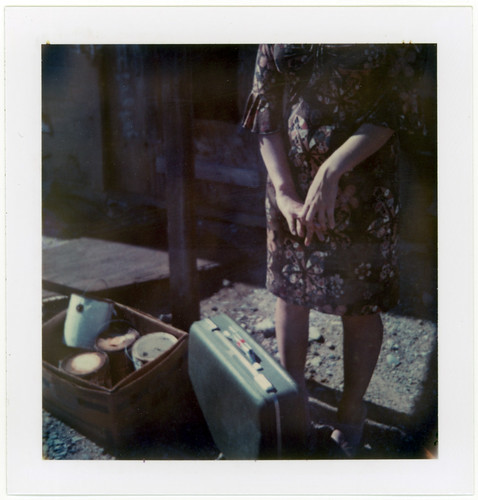
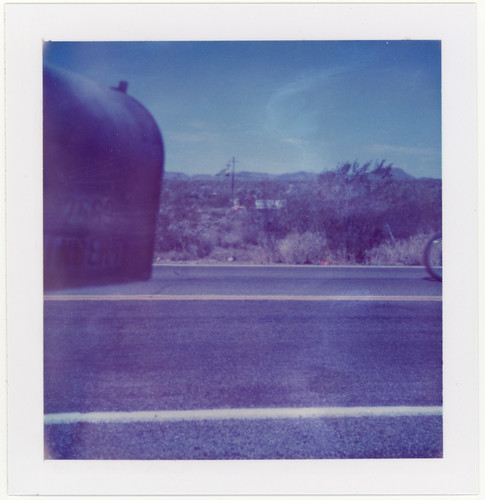
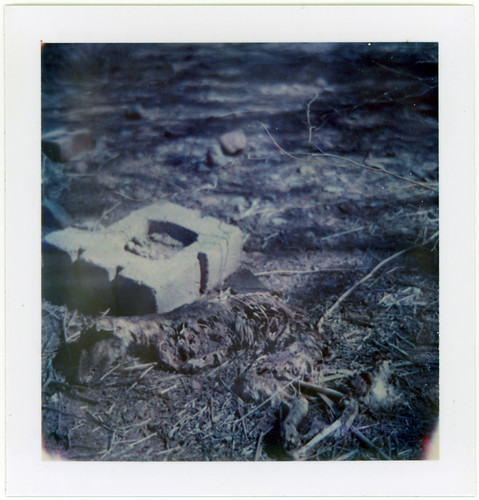
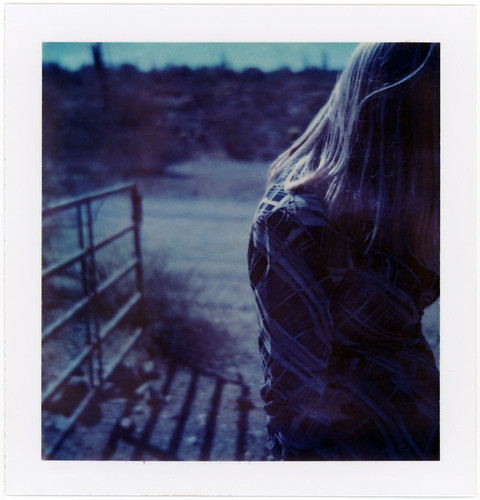
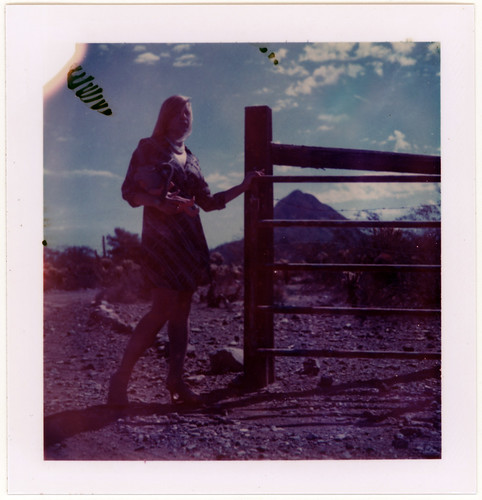
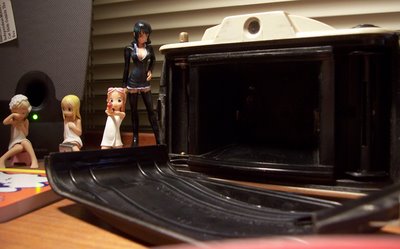
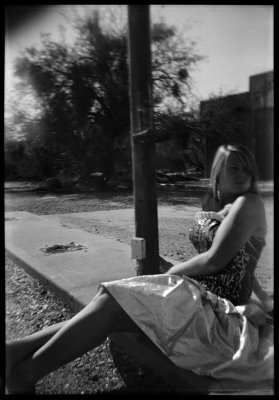
Man, I haven't posted for awhile. Been busy with school and work and haven't done much of anything recently. Anyway...hentai. That freaky japanese cartoon porn. Though I don't get a 'charge' from it, I do find it completely fascinating. I look at some of it and just can't get over how strange it all is. How much white matter can a single girl be covered with? Who the hell really gets turned on by seeing intercourse from the INSIDE? How big can it get? How wide? How violent? It's all so far beyond even a Westerner's vision of S&M. Take everything and exaggerate it tenfold. I'd really like to talk to some hentai artist and find out what they see. Is it a contest to out-extreme the other artists? The detail is amazing in most of the art...every vein, fold, droplet. I won't even go into the lolita thing (seems it's usually either little girls or woman with freakishly large breasts). It really is borderline insane. So I like to take pictures of it! I don't want my shots to be hardcore...just suggestive. Polaroid Type 87 film seems to work quiet well, as it is a relatively harsh film, in terms of tone. Anyway, here are a few shots...
Tuesday, November 21, 2006
Wednesday, October 18, 2006
Konica WaiWai
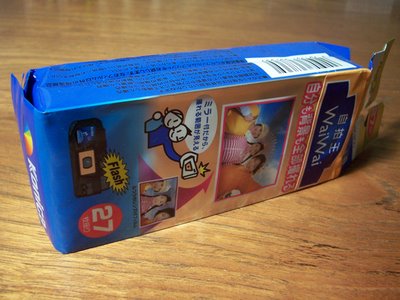
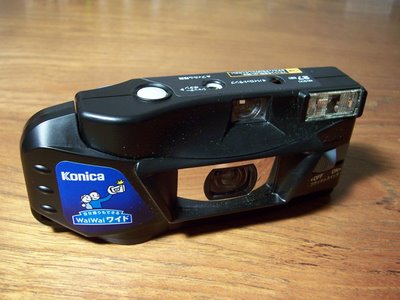
Picked up a Konica WaiWai camera recently. This is a wide-angle (17 mm), fixed-focus disposable from Japan (there was a US version at some point). They are out of production, but you can pick them up on eBay. Nice thing about them...they are "disposable", but they can be reloaded with 35mm film with a little work! In my next post, I'll have some instructions on doing this. There are a couple of Chinese sites that show how it's done, but I figure some English would be nice, as it gets a little complicated towards the end.
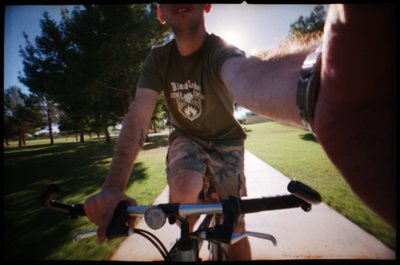
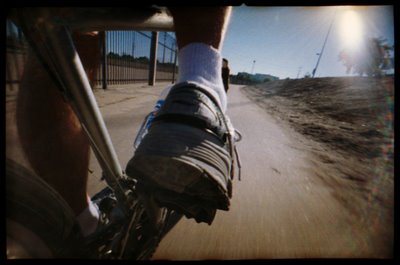
As you can see, there is a mirror on the front so you can take self-portraits (as advertised on the package). The viewfinder also shows an approximation of what you are shooting, though with much greater parallax than the photos have. Still, it helps visualize the final image. What is pretty amazing is how wide the lens actually is. You can be about one foot in front of something and six feet to the left, and it still appears in the photo. The focal range is a bit odd, too. You can pretty much focus on something an inch away, but things in the distance are out of focus. So it really does require a some adjustment when shooting. I took it out for a practice shoot on my bike. The interesting shots are those with something directly along the edges of the camera. Quite a few of my shots didn't have anything close by, defeating the extreme wide-angle purpose. One negative, though maybe not, is the amount of lens flare. Doesn't bother me, but there was a LOT of it, as you can see in these photos. There is also a decent amount of vignette, which can be increased by using the flash.
All in all, a really fun camera! Now that I have a better idea of what it does and how to take advantage of its quirks, I want to take it out again right away! I have another roll of color film, but I need to pick up some black and white for "artsy" experimentation. I like the effect much more than the Lomo fisheye, and can see using it for art and just for fun. In my next post, I'll try step-by-step instructions on reloading it. It does take a regular 35mm canister, instead of one of those DC-whatever canisters that other disposables use...you just have to do some of it in the dark. Until then...
Monday, October 09, 2006
A few more olden moldies...
Some more playing around in the darkroom. These are from 1989 and are part of my final assignment in Photo 101 (or whatever it was called). I mostly put out crap for the semester and then suddenly 'blossomed' at the end, with all kinds of ideas. Guess it took me awhile to get used to the medium and move beyond the point, shoot and print attitude.
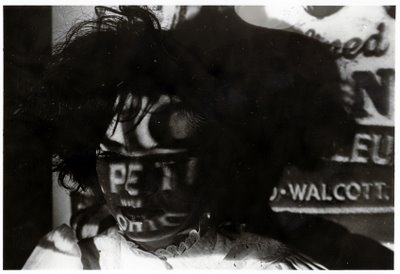
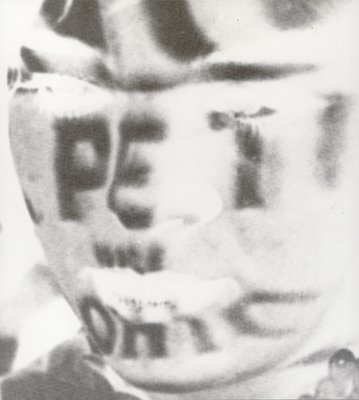
I initially shot a roll of film, focusing on textures and pattern. I copied the negatives using a zoom function on a copier onto transparent overheads, then used an overhead projector to..project (duh!) them onto my then girlfriend. I printed a few of these as stright shots, and some I used for experimenting in the darkroom.
This is a straight print:
And this was done with a small version of the print used as a paper negative:
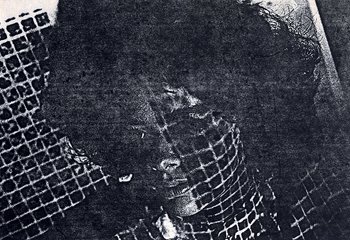
Another thing I messed about with was using photocopies as negatives. This is the original photocopy:
And the print:
Another photocopy neg:
And a print made from a contact print of the print made from the paper photocopy neg (if that makes sense):
An example of the projected image on the model (funny, I never noticed the iron marks from mounting the photo!):
This is the same overhead used as a mask while printing:
Anyway, just a few more ideas from the past...
Wednesday, October 04, 2006
Why I need a darkroom...
Way back when, from 1988 to around 1992, I actually had a full darkroom. I currently just develop my own film and scan the negs onto my computer. That's fine for straight "prints", and photoshop does have some nice controls that are difficult to duplicate with an enlarger. On the other hand, there are tons of things I can do in the darkroom that are impossible to replicate on the computer. And if they are, it's not as much fun, anyway.
Since I haven't done anything new for the past month, I figured I'd hop in the wayback machine and post some experimental stuff from my darkroom days. I would spend hours in the basement playing around with developer, contact prints, zeroxed negatives, overheads, anything I could make a print from. I hadn't really thought about any of this for awhile until I was looking at Bea's site (see links on right side), and she was describing (I think) placing a paper negative into the enlarger, which was something I used to mess around with. So here are some things I did back then. None of this stuff is matted or was ever meant to be displayed. I haven't really cleaned any of these, either, so sorry for the dust and hair. It's just stuff I created from screwing around...most of it postcard size, since it was cheaper to work out ideas that way. I'll explain what I remember. There are some shots I have that have so may steps that I can't remember exactly how the finished product came about.
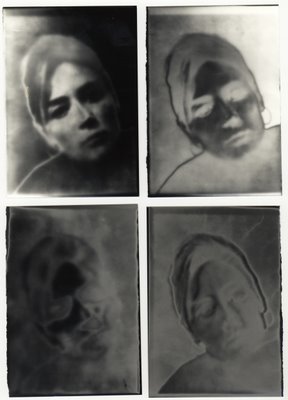
This is a fairly simple concept. Two separate negatives, with one half being blocked and exposed and the other side then exposed with the other neg...
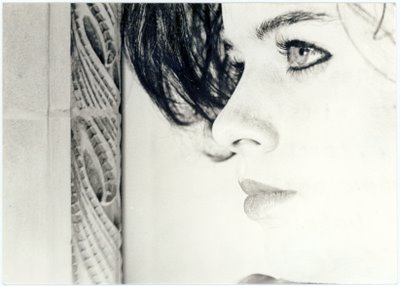
This shot was a contact print from another contact print. So I printed the shot, used that shot as a contact to make a negative contact, then used the neg contact to make another positive. It's a nice way to soften the image and give it an interesting texture.
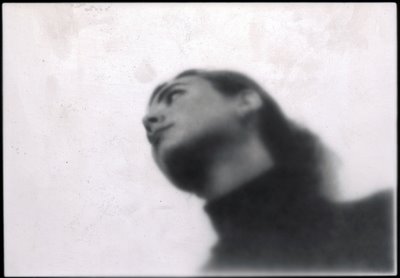
Further exploration of that theme produced some interesting effects. There are actually at least 30 shots in this series. I just kept using each contact print as another contact print, occassionally playing around with solarization or whatnot, until the image loses most of its definition through continious printing through thick paper. I'd like to try another more controlled experiment with this someday.
I can't remember the method here, where you take a neg and make a really high contrast neg out of it...maybe something to to with lithography? Anyway, I did a lot of that, too. Used to be big into combining nature and machine.
Not sure what I did here. Must have been some toning going on or multiple negs. I can't really tell, but I kind of like it. Looks very early 1990s, too. The streaks are actually part of the image and not damage or scratches.
Probably cut out paper contacts here, or possible cutout paper negatives, judging from the loss of definition. Like making a collage negative. Toned a couple of times, it looks like...sepia and blue. Again with the mechanical theme.
A continuation of the above shot, contact printed who knows how many times and solarized.
I'll post more of this stuff later. One of the reasons I like toy cameras so much is that they do a lot of what I tried so hard to do in the darkroom automatically. Not everything, but a lot of the low-fi effects are 'pre-installed' in my shots now. I'd love to take them and see what I could do with an enlarger. Anything to remove the computer from the equation. I love analogue. Someday...more money and more time.
On a side note, I haven't seen these girls in forever.
On another side note, a couple goofy things I found inside my old photo file:
I would LOVE to be installed today. Makes me think of Doctor Who.
I also would take those realtor mags and deface every single portrait on a page (where they would have 30 realtors listed on a single page)...because they deserve it (and, I know, realtor is caps and with a registered trademark, and I don't care, the rebel that I am...and it's sad that I know how realtor should be printed). Maybe I'll locate them someday. I save everything.
Since I haven't done anything new for the past month, I figured I'd hop in the wayback machine and post some experimental stuff from my darkroom days. I would spend hours in the basement playing around with developer, contact prints, zeroxed negatives, overheads, anything I could make a print from. I hadn't really thought about any of this for awhile until I was looking at Bea's site (see links on right side), and she was describing (I think) placing a paper negative into the enlarger, which was something I used to mess around with. So here are some things I did back then. None of this stuff is matted or was ever meant to be displayed. I haven't really cleaned any of these, either, so sorry for the dust and hair. It's just stuff I created from screwing around...most of it postcard size, since it was cheaper to work out ideas that way. I'll explain what I remember. There are some shots I have that have so may steps that I can't remember exactly how the finished product came about.
This is a fairly simple concept. Two separate negatives, with one half being blocked and exposed and the other side then exposed with the other neg...
This shot was a contact print from another contact print. So I printed the shot, used that shot as a contact to make a negative contact, then used the neg contact to make another positive. It's a nice way to soften the image and give it an interesting texture.
Further exploration of that theme produced some interesting effects. There are actually at least 30 shots in this series. I just kept using each contact print as another contact print, occassionally playing around with solarization or whatnot, until the image loses most of its definition through continious printing through thick paper. I'd like to try another more controlled experiment with this someday.
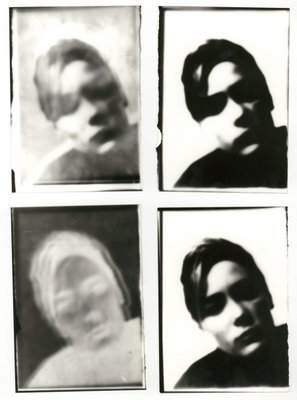
I can't remember the method here, where you take a neg and make a really high contrast neg out of it...maybe something to to with lithography? Anyway, I did a lot of that, too. Used to be big into combining nature and machine.
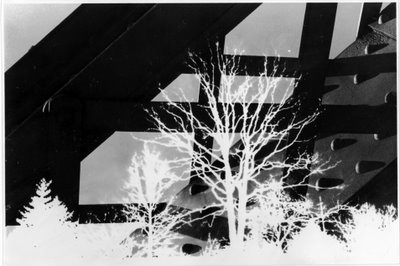
Not sure what I did here. Must have been some toning going on or multiple negs. I can't really tell, but I kind of like it. Looks very early 1990s, too. The streaks are actually part of the image and not damage or scratches.
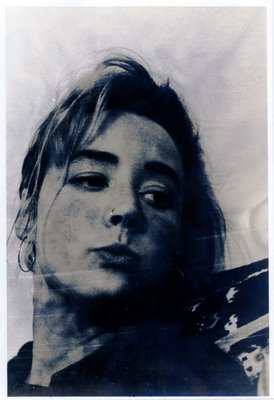
Probably cut out paper contacts here, or possible cutout paper negatives, judging from the loss of definition. Like making a collage negative. Toned a couple of times, it looks like...sepia and blue. Again with the mechanical theme.
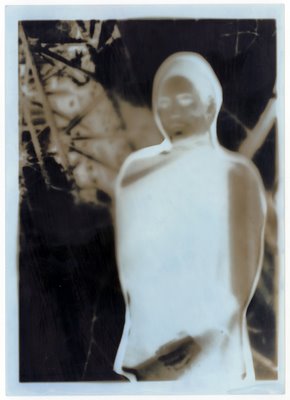
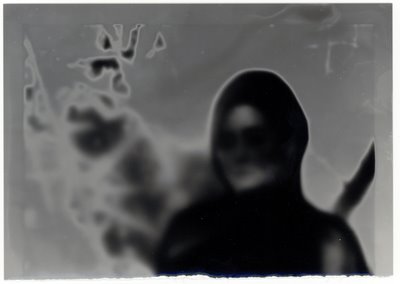
A continuation of the above shot, contact printed who knows how many times and solarized.
I'll post more of this stuff later. One of the reasons I like toy cameras so much is that they do a lot of what I tried so hard to do in the darkroom automatically. Not everything, but a lot of the low-fi effects are 'pre-installed' in my shots now. I'd love to take them and see what I could do with an enlarger. Anything to remove the computer from the equation. I love analogue. Someday...more money and more time.
On a side note, I haven't seen these girls in forever.
On another side note, a couple goofy things I found inside my old photo file:
I would LOVE to be installed today. Makes me think of Doctor Who.
I also would take those realtor mags and deface every single portrait on a page (where they would have 30 realtors listed on a single page)...because they deserve it (and, I know, realtor is caps and with a registered trademark, and I don't care, the rebel that I am...and it's sad that I know how realtor should be printed). Maybe I'll locate them someday. I save everything.
Saturday, September 23, 2006
Dusty Memories
Haven't done anything cool the past few weeks...just school or work, work or school. I have a couple new cameras I want to try out. One being the Konica WaiWai wide angle (reloadable) disposable camera. Also expecting a Lomo LC-A+ in the next few weeks. Put off getting a Lomo forever, but this camera looks like fun. Been wanting to get some kind of nifty little quick 35mm camera (I never use my bulky Pentax), so maybe this will fit the bill. So, since I haven't been doing anything, and I'm tired of work and school, I'm dreaming of leaving, so here are some shots I took in Palm Springs last July. They were taken with my Snappy Diana clone. We were driving back from Los Angeles and I had to stop, since I don't drive through the area more than once every couple of years. It's actually a neat area. You can drive pretty much wherever you want in the desert. There are fences around the windmills, but in some spots you can get as close as 25 feet away. They are huge! The shots I took are very muddy and quiet...I assume a combination of the camera (the Snappy is by far my favorite of my Dianas), the film (arista.edu 200, don't really care for it), Diafine (lots of development artifacts, with the banding and all), the smog/dust and the sun being low on the horizon. Anyway...
Tuesday, September 05, 2006
"Expired" Expired Film
I like to experiment with expired film, as evidenced in my previous posts, but sometimes expired film is just...dead. This was a roll of Kodak Plus-X 127 film, expired October 1953, shot through a Brownie Holiday at Zion National Park. I can see very faint images when I hold the film to a light. The edge of a frame, the shadow of a tree...but much too faint for even a scanner to pick up properly. And I've scanned some pretty faded negatives.
So what have a learned from using expired film? Number one: if you are shooting for a day, a few hours, whatever, don't rely on the expired film. I always shoot with multiple cameras, and I make sure I have non-expired film (or at least no older than 10 years). I would hate to make an effort to drive someplace cool, shoot five expired rolls, and find out I got absolutely nothing from of the experience. For me, expired film is kind of like icing on the cake. I go out with an idea of what I want to shoot with my cameras, and I take a roll or two of expired along and just shoot here and there when I think it might be interesting. I rely on my regular film and hope for the best with my expired. Sometimes the icing is nasty and makes your stomach hurt...other times it's the best thing you've ever had and you have some sort of icing orgasm. Or something. Bad analogy, but at least I got to use the word orgasm in my blog. Anyway, toy cameras are often unpredictable, and expired film makes them doubly unpredictable. But that, for me, is also part of the fun. And even the 'non-photos' that result are sometimes beautiful, with a somewhat minimalist painting quality. I could see one of these at six feet across.
One final tip when using expired film: lots of contrast. The greater the difference between your blacks and whites, the greater the chance of getting a usable image. Sometimes you just get the perfect shots regardless of lighting conditions (at least as far as a toy camera will tolerate), but you want to try to shoot with the worst possible results in mind. You can't hurt good film with contrast, so it's the best way to go about it. Don't let the above images scare you! Photography is about having fun. If you take it too seriously and it becomes work, then it's just work. I like to say the reason they call it work is because someone has to pay you to do it. If you can get payed to take photos, great. But it should still be about adventure and experimention. Anyway, I'll shut up, because I can see your eyes glazing over!
So what have a learned from using expired film? Number one: if you are shooting for a day, a few hours, whatever, don't rely on the expired film. I always shoot with multiple cameras, and I make sure I have non-expired film (or at least no older than 10 years). I would hate to make an effort to drive someplace cool, shoot five expired rolls, and find out I got absolutely nothing from of the experience. For me, expired film is kind of like icing on the cake. I go out with an idea of what I want to shoot with my cameras, and I take a roll or two of expired along and just shoot here and there when I think it might be interesting. I rely on my regular film and hope for the best with my expired. Sometimes the icing is nasty and makes your stomach hurt...other times it's the best thing you've ever had and you have some sort of icing orgasm. Or something. Bad analogy, but at least I got to use the word orgasm in my blog. Anyway, toy cameras are often unpredictable, and expired film makes them doubly unpredictable. But that, for me, is also part of the fun. And even the 'non-photos' that result are sometimes beautiful, with a somewhat minimalist painting quality. I could see one of these at six feet across.
One final tip when using expired film: lots of contrast. The greater the difference between your blacks and whites, the greater the chance of getting a usable image. Sometimes you just get the perfect shots regardless of lighting conditions (at least as far as a toy camera will tolerate), but you want to try to shoot with the worst possible results in mind. You can't hurt good film with contrast, so it's the best way to go about it. Don't let the above images scare you! Photography is about having fun. If you take it too seriously and it becomes work, then it's just work. I like to say the reason they call it work is because someone has to pay you to do it. If you can get payed to take photos, great. But it should still be about adventure and experimention. Anyway, I'll shut up, because I can see your eyes glazing over!
Saturday, September 02, 2006
More Expired Polaroid
Sad news...Polaroid will be discontinuing Type 80 films in the last three months of the year. I love Type 87, so I guess I'll have to stock up. The other option is to buy expired film. Buying expired Polaroid is a bit of a crapshoot. It dries out after a period of time, depending on how it was stored. Five year old film can be bone dry, and 30 year old film will still have working developer. It also tends to not be cheap (not usually as expensive as new Polaroid, but still enough that one can be unsure of spending cash on what may amount to a nice display box).
The attraction of expired Polaroid, at the same time, is it's unpredictability. The chemistry is different, which already creates different tones that of current Polaroids. Couple this with old film and old developer and yoy can get some truly fantastic results. These pictures were shot with my modified Square Shooter and Type 88, expired 9/96.
Skorj also has some nice examples of expired film on his flickr site.
Monday, August 28, 2006
Imperial Continental Camera
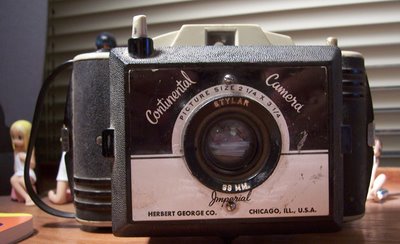
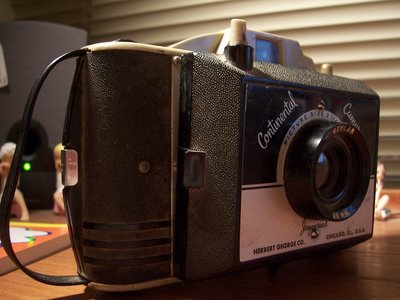
I found this camera for $3 US at a thrift store called Savers, similar to Goodwill. This is truly a crappy camera. The Imperial Continental Camera was made by Herbert George Co, Chicago, Illinois, USA. There are other Imperial cameras by the same company, the most common being the Imperial Mark XII. I also have an Imperial Snapshot camera, a small, plastic box camera. If you do a search on eBay, you will see various other Imperial cameras. But you may not find this one. I've searched all over the web and have not found a single reference to this particular camera. Is it so bad that even crappy camera collectors don't care about it? I doubt that is possible. Maybe they only made them for a very short period of time, or they are made so poorly that they just couldn't carry on through the years.
Sorry for the nasty shots, I didn't feel like getting out the tripod...
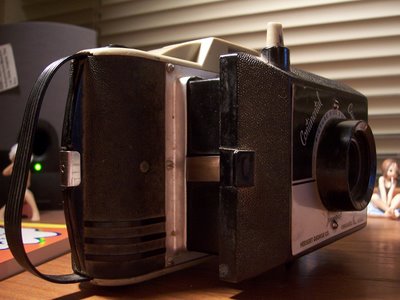
The camera takes 620 film, producing eight 2 1/4" x 3 1/4" shots. It sports a fixed focus 88 mm Stylar lens, whatever that may be worth. I'm pretty sure it is glass. The most striking feature of this camera is its blatently ugly design. It is fairly large for a 620 camera, even one that takes larger photos. The front slides out to make the camera even larger. It's a good thing I took the camera apart to fix the shutter, because I didn't know this at first. I just thought the front was loose. It doesn't really fit together very well. The shutter mechanism is very sloppy, with lots of room for the parts to move up and down, so it sticks a lot. I have to hit the button very quickly or the shutter stay open. This actually seems to more of a design issue, as opposed to a problem of age. Kind of like the Diana clones have really screwy shutters. Also, the knob on top is missing, so advancing the film is painful. Age, of course, not design. The viewfinder is basically good for aiming in the general direction that you want to shoot, and nothing more. It is not shaped like the actual photo being taken. I guess the square front of the viewfinder is ill matched with the round eyehole on the back.
So how does it work? Quite well, I think, if the toy camera look is your thing. It has a nice blur effect around the edges, particularly on one side. It randomly leaks light, apparantly right across the middle. You can see the picture falls off around the edges. Some random vignette. All around, plenty of toy camera effects. Nice vintage quality to the shots. I like it! A great find, and I plan to use it more in the future. Not a display camera by any means, but fun to use.
The shutter stuck, so I had to shake the camera to unstick it...then I just shot again, cuz that's what I do.
Sorry for the nasty shots, I didn't feel like getting out the tripod...
The camera takes 620 film, producing eight 2 1/4" x 3 1/4" shots. It sports a fixed focus 88 mm Stylar lens, whatever that may be worth. I'm pretty sure it is glass. The most striking feature of this camera is its blatently ugly design. It is fairly large for a 620 camera, even one that takes larger photos. The front slides out to make the camera even larger. It's a good thing I took the camera apart to fix the shutter, because I didn't know this at first. I just thought the front was loose. It doesn't really fit together very well. The shutter mechanism is very sloppy, with lots of room for the parts to move up and down, so it sticks a lot. I have to hit the button very quickly or the shutter stay open. This actually seems to more of a design issue, as opposed to a problem of age. Kind of like the Diana clones have really screwy shutters. Also, the knob on top is missing, so advancing the film is painful. Age, of course, not design. The viewfinder is basically good for aiming in the general direction that you want to shoot, and nothing more. It is not shaped like the actual photo being taken. I guess the square front of the viewfinder is ill matched with the round eyehole on the back.
So how does it work? Quite well, I think, if the toy camera look is your thing. It has a nice blur effect around the edges, particularly on one side. It randomly leaks light, apparantly right across the middle. You can see the picture falls off around the edges. Some random vignette. All around, plenty of toy camera effects. Nice vintage quality to the shots. I like it! A great find, and I plan to use it more in the future. Not a display camera by any means, but fun to use.
The shutter stuck, so I had to shake the camera to unstick it...then I just shot again, cuz that's what I do.
Subscribe to:
Posts (Atom)