Way back when, from 1988 to around 1992, I actually had a full darkroom. I currently just develop my own film and scan the negs onto my computer. That's fine for straight "prints", and photoshop does have some nice controls that are difficult to duplicate with an enlarger. On the other hand, there are tons of things I can do in the darkroom that are impossible to replicate on the computer. And if they are, it's not as much fun, anyway.
Since I haven't done anything new for the past month, I figured I'd hop in the wayback machine and post some experimental stuff from my darkroom days. I would spend hours in the basement playing around with developer, contact prints, zeroxed negatives, overheads, anything I could make a print from. I hadn't really thought about any of this for awhile until I was looking at Bea's site (see links on right side), and she was describing (I think) placing a paper negative into the enlarger, which was something I used to mess around with. So here are some things I did back then. None of this stuff is matted or was ever meant to be displayed. I haven't really cleaned any of these, either, so sorry for the dust and hair. It's just stuff I created from screwing around...most of it postcard size, since it was cheaper to work out ideas that way. I'll explain what I remember. There are some shots I have that have so may steps that I can't remember exactly how the finished product came about.
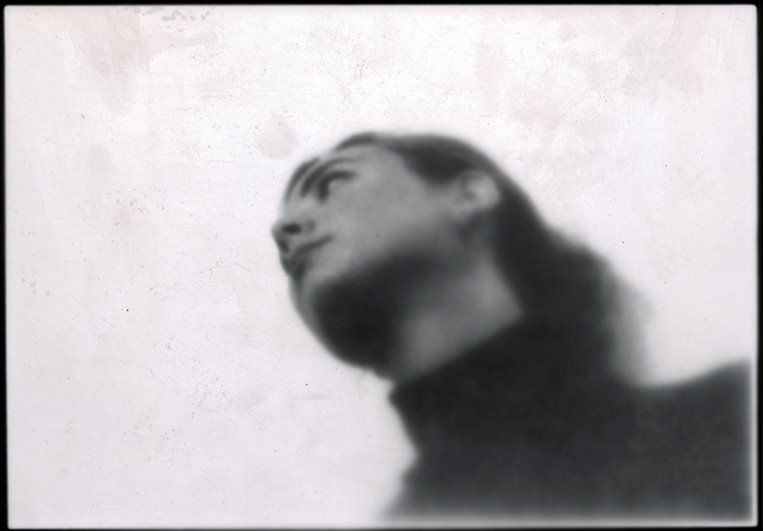
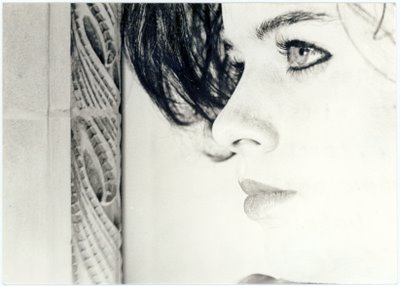
This is a fairly simple concept. Two separate negatives, with one half being blocked and exposed and the other side then exposed with the other neg...
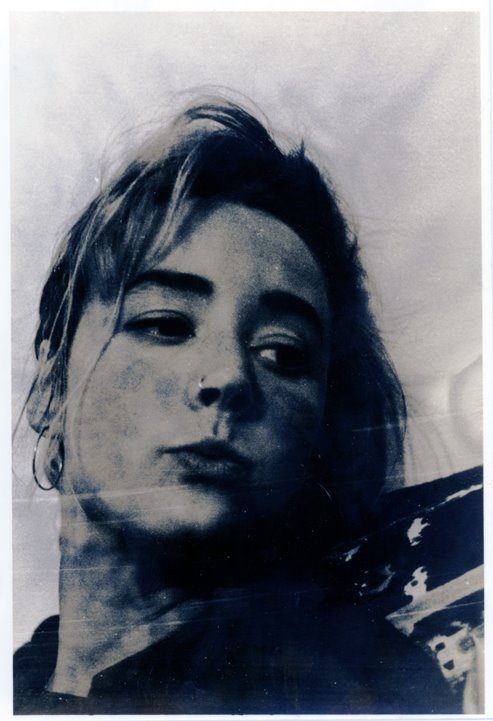
This shot was a contact print from another contact print. So I printed the shot, used that shot as a contact to make a negative contact, then used the neg contact to make another positive. It's a nice way to soften the image and give it an interesting texture.
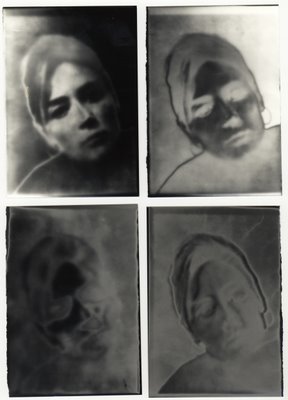
Further exploration of that theme produced some interesting effects. There are actually at least 30 shots in this series. I just kept using each contact print as another contact print, occassionally playing around with solarization or whatnot, until the image loses most of its definition through continious printing through thick paper. I'd like to try another more controlled experiment with this someday.
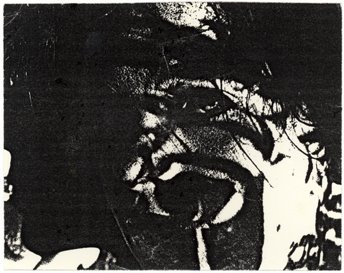
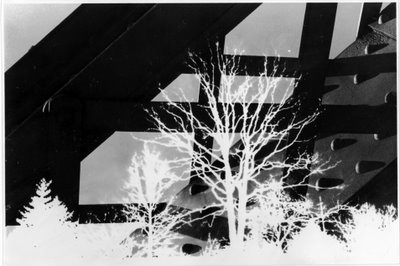
I can't remember the method here, where you take a neg and make a really high contrast neg out of it...maybe something to to with lithography? Anyway, I did a lot of that, too. Used to be big into combining nature and machine.
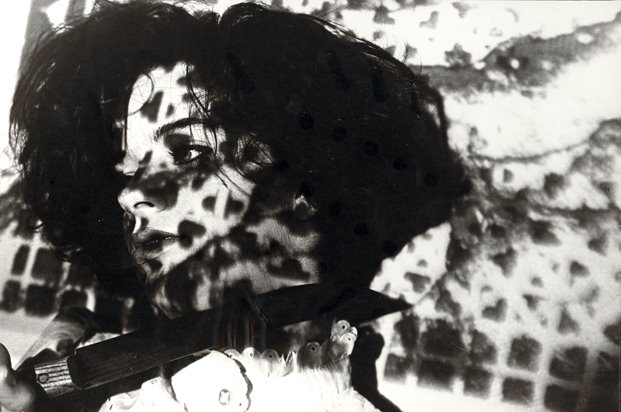
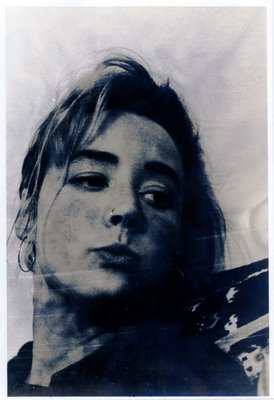
Not sure what I did here. Must have been some toning going on or multiple negs. I can't really tell, but I kind of like it. Looks very early 1990s, too. The streaks are actually part of the image and not damage or scratches.
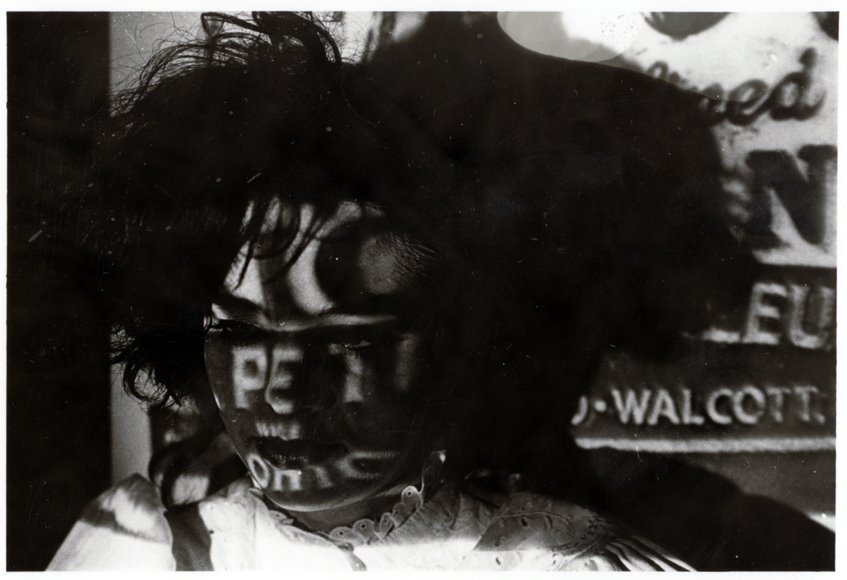
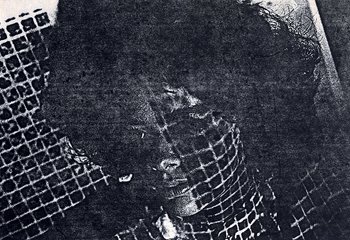
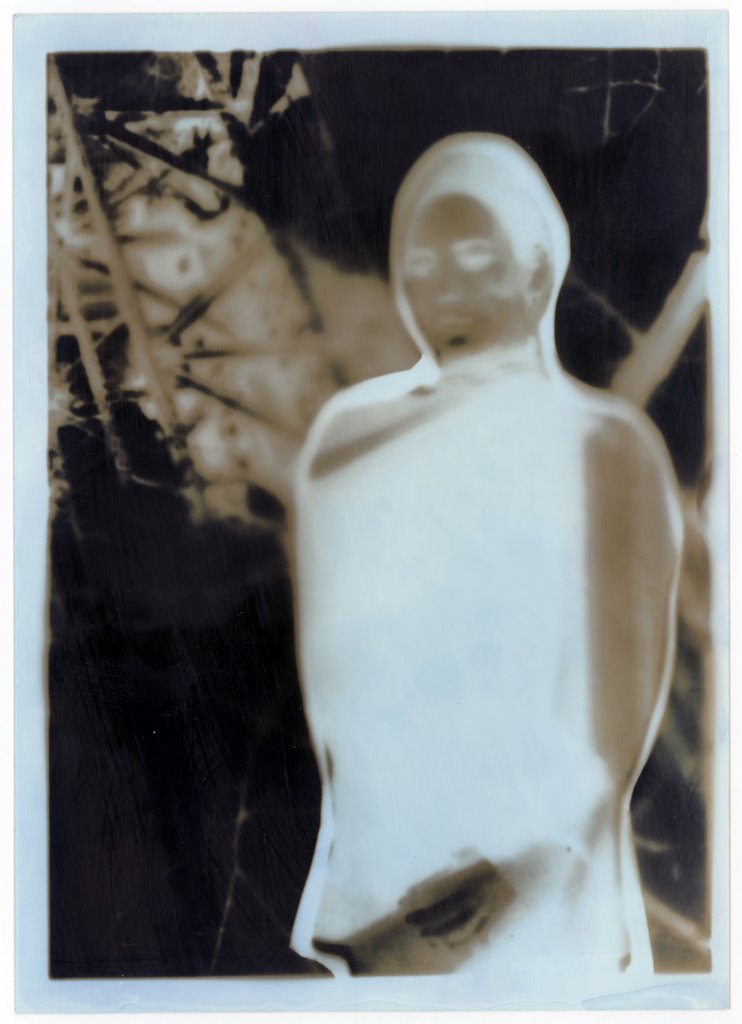
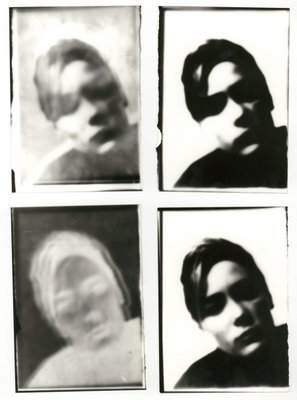
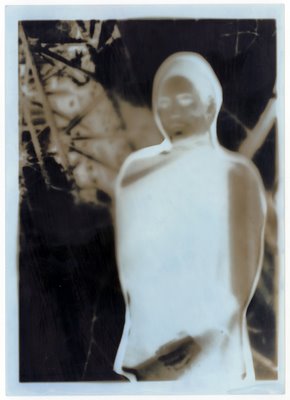
Probably cut out paper contacts here, or possible cutout paper negatives, judging from the loss of definition. Like making a collage negative. Toned a couple of times, it looks like...sepia and blue. Again with the mechanical theme.
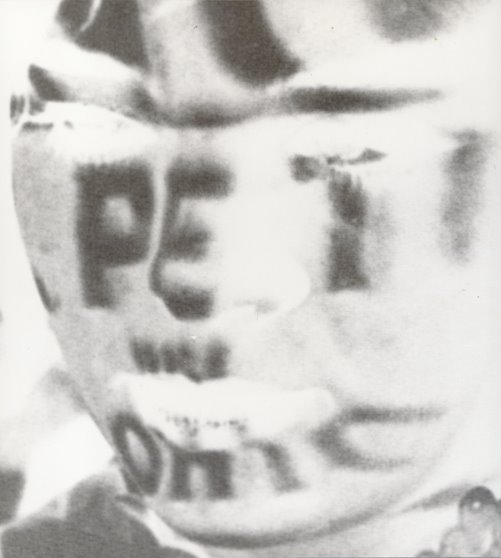
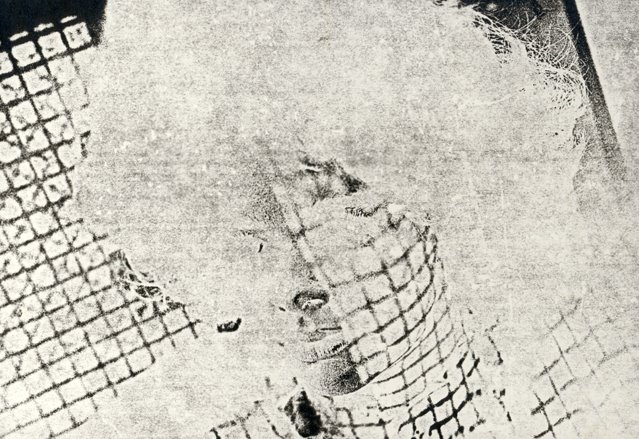
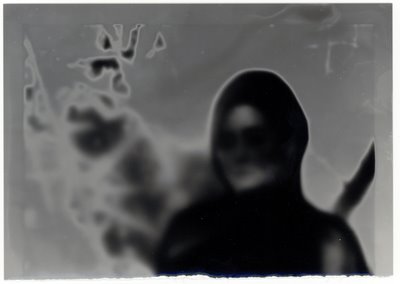
A continuation of the above shot, contact printed who knows how many times and solarized.
I'll post more of this stuff later. One of the reasons I like toy cameras so much is that they do a lot of what I tried so hard to do in the darkroom automatically. Not everything, but a lot of the low-fi effects are 'pre-installed' in my shots now. I'd love to take them and see what I could do with an enlarger. Anything to remove the computer from the equation. I love analogue. Someday...more money and more time.
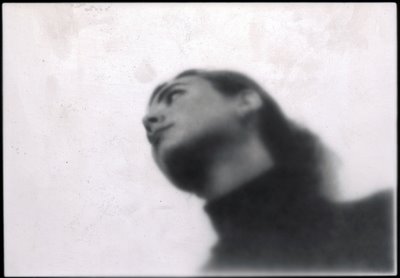
On a side note, I haven't seen these girls in forever.
On another side note, a couple goofy things I found inside my old photo file:
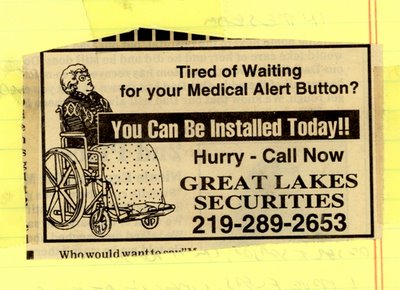
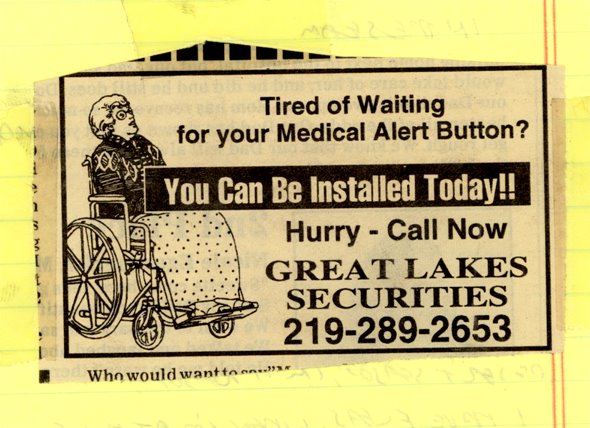
I would LOVE to be installed today. Makes me think of Doctor Who.

I also would take those realtor mags and deface every single portrait on a page (where they would have 30 realtors listed on a single page)...because they deserve it (and, I know, realtor is caps and with a registered trademark, and I don't care, the rebel that I am...and it's sad that I know how realtor should be printed). Maybe I'll locate them someday. I save everything.