Monday, July 31, 2006

Failed experiment with potential

I have this Banner (a Diana clone) that took really cool photos, but was a complete mess to use. Leaky, sticky, crooked, everything bad...but it still produced the occasional nice shot:


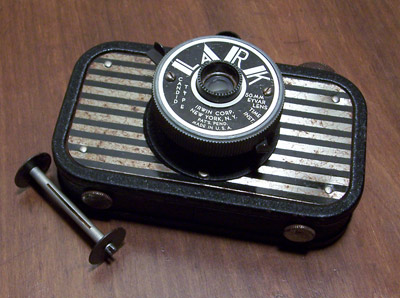
Well, the shutter kept getting stuck on the aperture plate in the barrel, so I took it apart to remove this piece (same problem, same solution with my Snappy). Then I figured since it was apart, I'd mess around a bit with it. I took a lens from a Fujipet and used some tape to hold it in. Had some nice and interesting results:


And I took the Banner lens and sanded it down to fit in my Fujipet...also a good match:


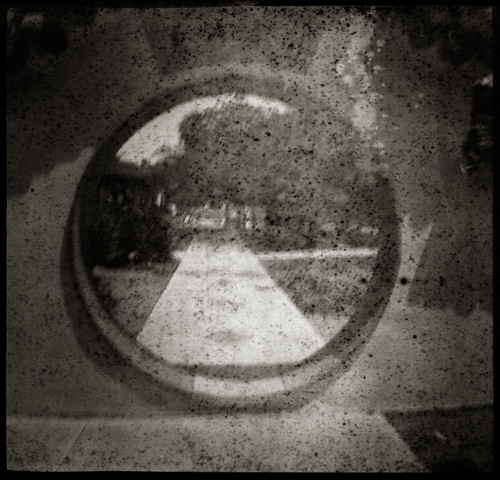
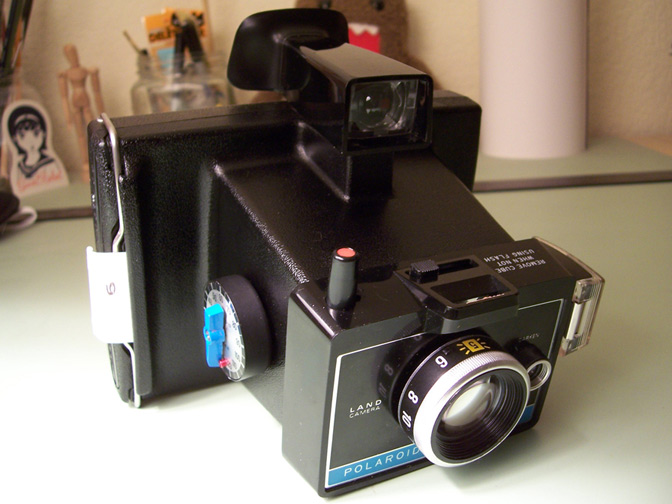
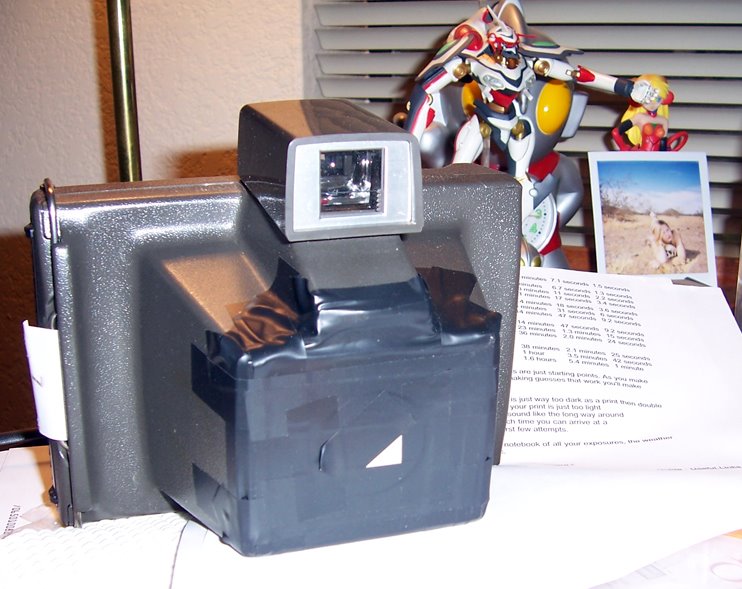
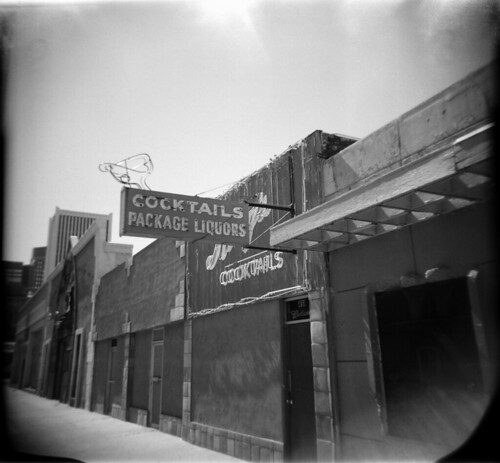
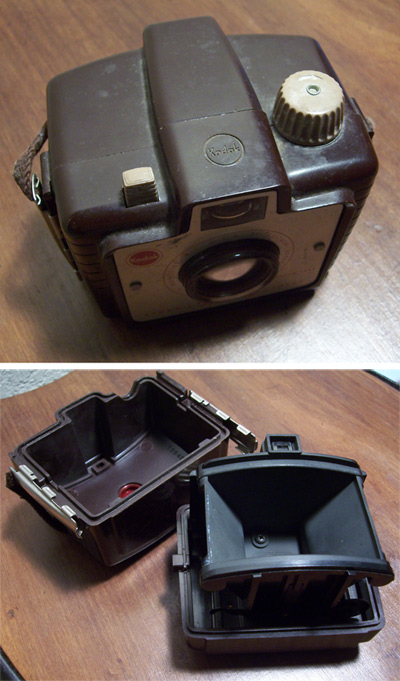
Well, since I can't use the Banner lens in the Banner anymore, I decided to use it for mod experiments. I have a couple Holga lenses (with the barrel) and figured it would be interesting, if nothing else, to put it on the Banner. I removed the front of the barrel on the Banner, leaving the part with the shutter. I cut an opening in the lens cap to tape to the Holga part, and taped this onto the Banner:


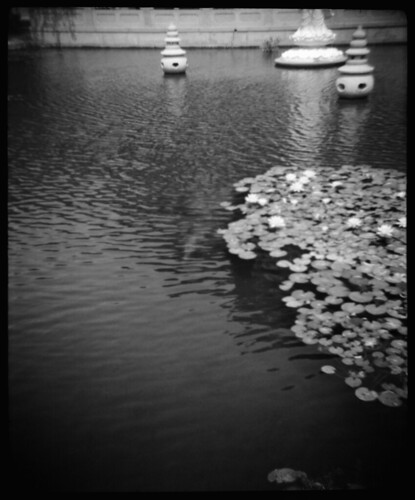
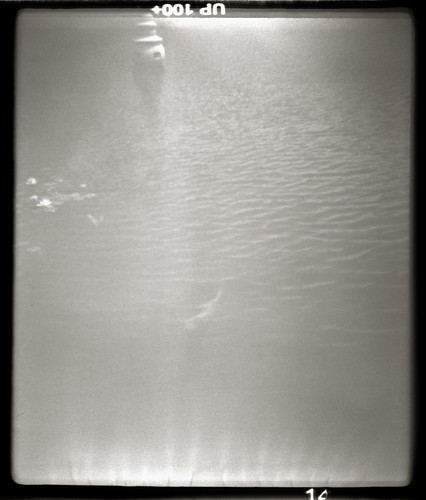
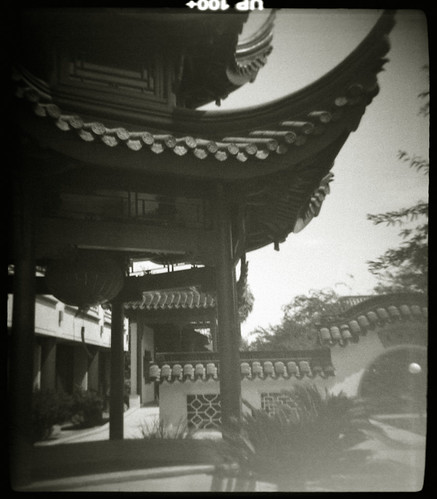
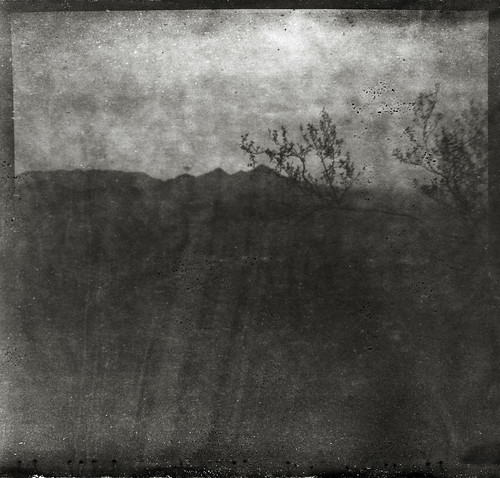
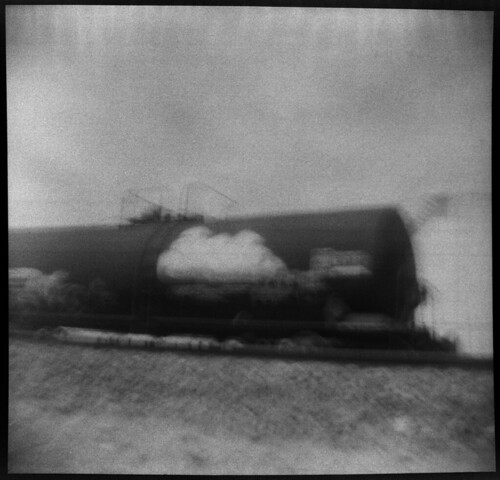
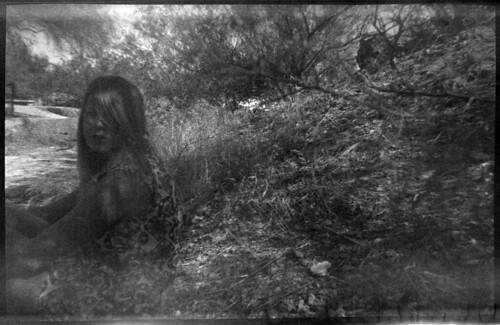
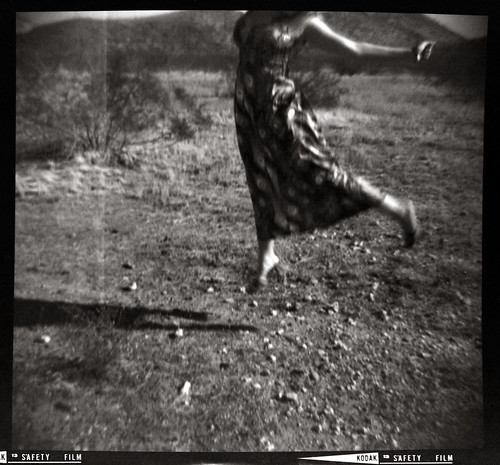
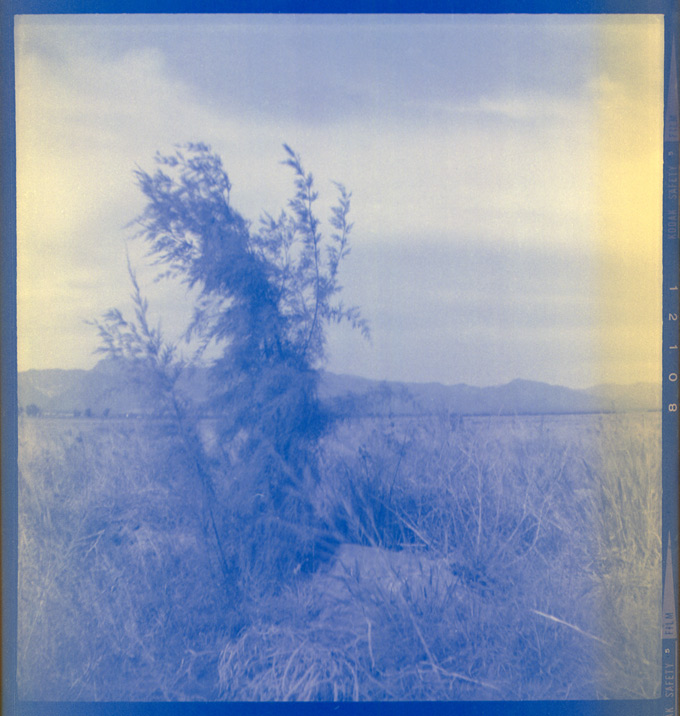
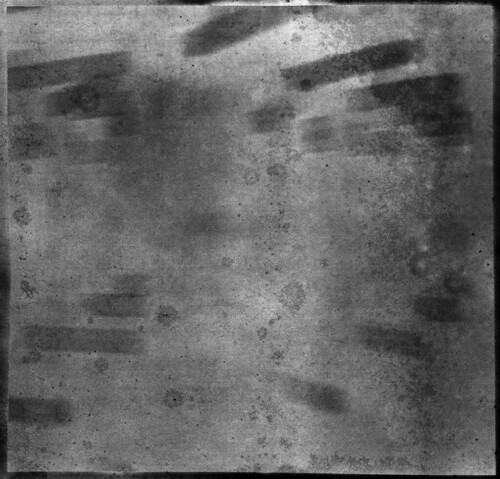
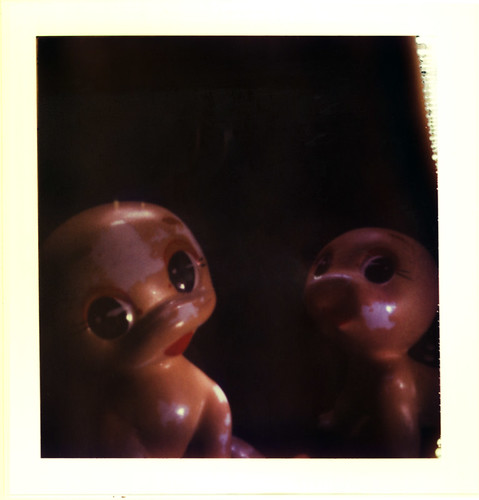
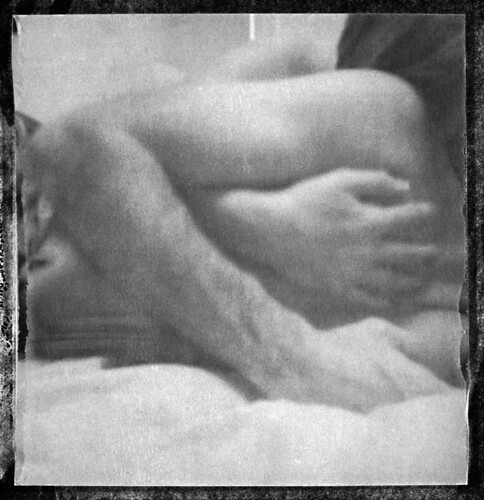
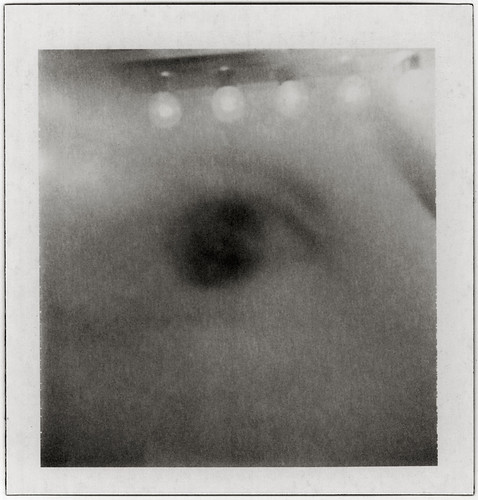
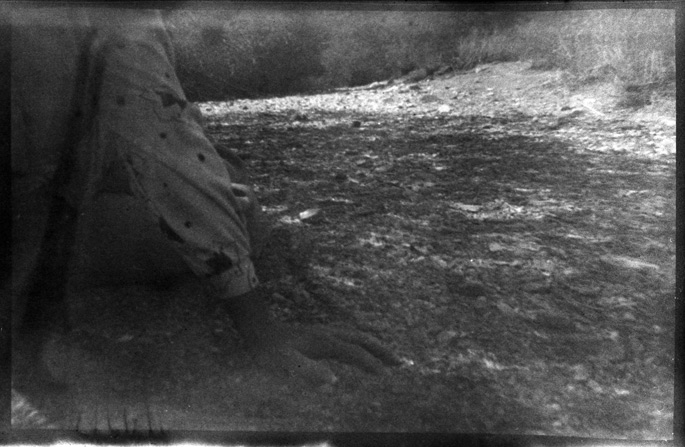
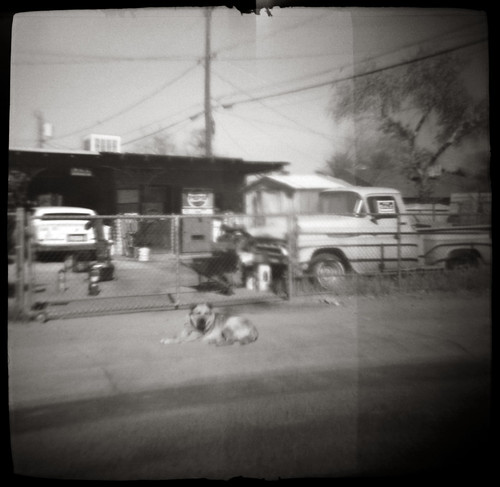
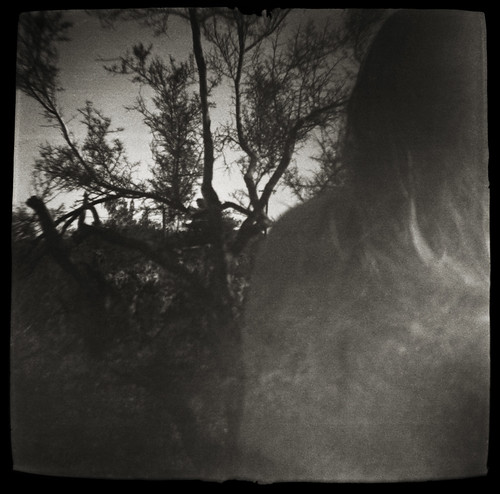
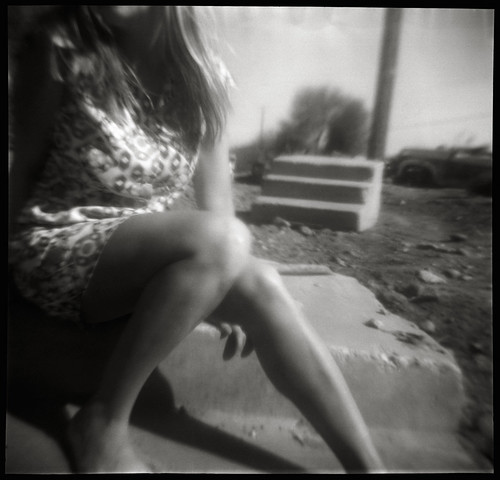
I shot a roll and got some photos, barely. Very dark and not in focus. Somewhat interesting, but not what I was looking for. Some of it was Banner quirks, like the random overexposing of a shot, but it was mostly from the Holga lens.


I see two basic problems to fix. One, I need to be a bit more accurate with my focal length. I kind of just held it next to a Holga and matched by eye. I think that it was a bit close to the lens. Since I can't twist to focus, I need to find the sweet spot where what I want to see is in focus.
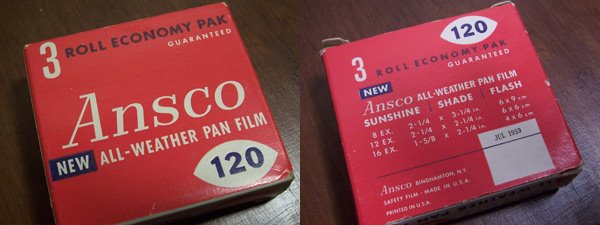
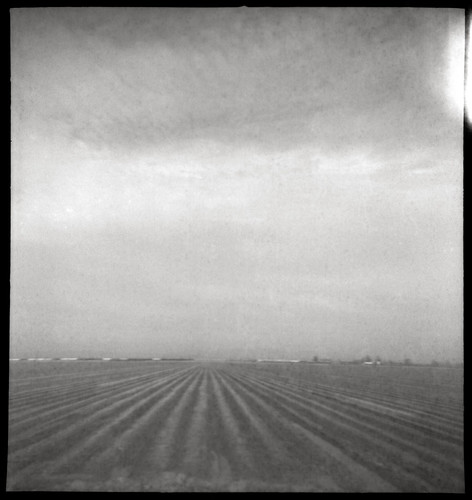
The second problem, I think, is that the aperture on the holga is actually smaller that the one on the Banner. Quite a but smaller, so the photos were very underexposed and grainy....and you can actually see the edges of the hole on the photos. So I need to enlarge the opening behind the lens. I'll have to do some tweaking and shoot another roll. I use the cheapest film I can find when I'm messing around like this. Usually Arista.edu, since it's around $1.39 a roll.
I'm off on a camping trip to Utah for a week...bringing my usual "too many cameras." This time it's a Holga, a Fujipet, two Dianas (just in case), and a couple 127 cameras. I picked up a couple Baby Brownie Specials for $5 (for both), so I want to try one out, and I've loaded my Kodak Brownie Holiday with Kodak Plus-X, expired October 1953. Should be fun!

Saturday, July 29, 2006

The Lark

Remember this camera?


Well, I finally finished a roll and developed it (Macophot 100+ and Diafine). Interesting camera. It seems to leak light, but it must be from the front and not the back, as the leaks are on the picture only, and not the surround frame. It only leaks sometimes. This shot is free and clear:


While this shot, the next on the roll, and the same subject (or about 10 feet away), is completely blown out from light:


Then this shot has a nice leak in the bottom corner:


Another odd thing. The back has two windows, while my other 127 cameras have the usual single window. I just used the second window to line my shots up. I get eight shots this way...but there is a photo-sized space between each shot. If I had used both windows (1 in first than 1 in second), I could have fit 16 shots on the roll, BUT they would have barely overlapped. Not sure about the correct way to use the camera counter. I guess if you wanted to crop the photos in a bit, you could get 16 shots, but I like the frames from toy cameras. Lots of interesting shapes and doubling, etc. The camera also has a nice vignette and some blurring towards the edge. It's ugly and heavy and not much fun to carry around, but I'm pleased with the results, so I will definitely be using the camera again.

Wednesday, July 26, 2006

Expired Film

Rather than only showing shots I've taken with expired film, I thought it would be interesting to post pictures of the actual film. The boxes are pretty interesting, and many of these companies aren't around today. I use the film, though most of these are still unopened. I feel like I have to make them last "just in case," though there does seem to be plenty of expired film on the Web. I pay anywhere from $2 to $6 US per roll. Enjoy!

Kodak Brownie 120, Date unknown, probably from the 1930s.


I have two rolls of this. I used one and only one shot really showed anything of interest. If I shoot the second roll, it will be in a very bright, high contrast situation. This was shot in a Fujipet.


Ansco Plenachrome 620, expired February 1952.


Kodak Plus-X 127, expired February 1953. I haven't used these yet.


Ilford FP3 620, expired December 1957.


I shot one of these rolls last weekend. Works very well, I think. Has a nice pitted surface. I used an Ansco Panda.


Ansco All-Weather Pan 120, expired July 1959.


Wena 620, expired June 1963.


High grain, but little corrosion. Shot with a Fujipet, in a hurry I guess (the blur).


Rex 620, expired December 1963.


Rex 127, expired April 1965.


Shot with a Kodak Brownie Holiday.


Perfect Pan 620, expired August 1968.


Shot this roll through a Argoflex Seventy-Five.


Polaroid Colorpack Type 108, expired November 1975. I tried to use it, but the developer was bone dry. Smelled bad, too. At least I have a pretty box.


Kodak Verichrome Pan 620, expired March 1968.


Shot with a Fujipet.


I can't really read the logo, but I think it's Mc'on? But it's Fuji 126 film, expired November 1981. I've used one roll in a plastic Yogi Bear camera, but haven't developed it yet.


Kodacolor-X 620, expired July 1975.

I found out that it's really expensive and takes up to six months to get Kodacolor-X developed, so I just used D-76 for I think 20 minutes. Shot with a Brownie Hawkeye Flash.


Kodacolor II 620, expired May 1984.


Fuji Neopan, found in a Fujipet, expiration date unknown.

There was only one shot on the roll that I could tell was a photograph, because of the edges. I have no idea what it is, but it looks interesting!


I'm always looking for more expired film. Every roll does something different...I enjoy the unpredictability. I'll post more as I buy and shoot!

Saturday, July 22, 2006

Pinhole Polaroids

I'm pretty lazy about the whole pinhole thing. I'm really fascinated by the idea and am full of ideas, but haven't really felt like dealing with the trial and error aspect of it, particularly when I have to go through a roll of film and develop it, etc., just to forget what I did on a particular shot (what? write something down? naaaah). My answer? Make a pinhole camera out of a Polaroid camera!
You will find many sites with directions on turning your Polaroid into a pinhole, most of them complicated. Again with the lazy thing, I went the easy route. Non-folding Polaroids are very cheap...anywhere from $2-$5 US. They usually look something like this:


This is my keeper, actually constructed from a couple different Polaroids, but they all look about the same. So how to make it into a pinhole? See that front part, with the lens, flash and shutter release? Rip that part off. Well, actually, you will find screws inside under the battery holders from the back. If you're lucky, there are screws and not little bolt things. Good luck getting the bolt things off. I'd just go get another Polaroid and check the inside before you buy it. The screws can be a pain sometimes, too. Just remember you don't need that front part, so as long as you don't crack the case, do your best to rip it off. After the front is gone, you will see a big opening. I used a piece of black matt board, cut it to cover the hole completely, and cut a small square dead center, about 1/2 and inch on each side. Now get some black tape and tape the hell out of it, attaching the board to the front of the camera. Leave the little square on the front open. This is where the pinhole goes. It will end up looking something like this after you tape your pinhole on the front. Notice the small piece of black tape on the front. This is your shutter. The silver underneath the tape is the pinhole.


The first few shots I took, I used a pinhole that came with a 35mm pinhole camera I bought. Waaaay to small. This was exposed for I think 35 minutes, with a light shining on it.


Pinholes are fixed focus, with everything being in focus, so it's an acceptable solution for macro Polaroids. This guys are about an inch tall. This was a perfect pinhole, so the detail is very high, also. Still, for me, 35 minutes is way to long. Plus it took like four Polaroids to figure out the ideal time. In comes the aluminum foil and sewing needle. There are actual charts and instructions that tell you how to make a perfect pinhole and what each needle size is. I just cut out a piece of foil and poked a hole in it, taped it to the camera and stuck the shutter tape on top. Being a much larger aperture than the professional pinhole, the exposure times are MUCH less. Anywhere from 5 to 20 seconds, depending on available light. This was exposed for 15 seconds. It's actually a scan of the goop side, just because I liked it better.


This was around 20 seconds. Probably a bit overexposed. You see a huge difference in the amount of detail, because my foil pinhole is very ragged and has the hanging bits sticking out of the back. Might not seem like much, but every little glitch is magnified onto your film.


A pinhole alone is a lonely pinhole. So I poked three pinholes in a small triangle formation. The exposure times are really, really short. If you are outside, it's peel the tape off and stick it back on. Less than a second. Inside, maybe five seconds in low light. The image is much fuzzier and you get multiple images on your print. A slight kaleidoscope effect.


It's easy to overexpose and you also get much more grain. The three pinhole effect is almost like ripples on water. These images required some tweaking in photoshop, as they were very faint on the prints.


Sure, Polaroid film costs more than regular film, but the trade off is worth it for the immediacy and effects.

Friday, July 21, 2006

Published!

A little self promotion today. Made it into the new Holga book by the Lomographic Society! Yeah, I know, Lomographic, but it's still pretty damn cool! Here's the book:


I got two shots in. The first is the small horse shot on page 32.

A closer look:


And this full page photo on 256! Shot along Central in Downtown Phoenix:


Non-sepia version here. They cropped the right a bit to make it fit. I remember I burned the hell out of the edges of this roll with light, so all the photos were topless (woohoo!).


I also had a quote on some page, though maybe all the contributors had a quote?
The book is pretty good overall. Lots of nice shots. Quite of bit of Lomo "shoot from the hip" propaganda throughout (definitely meant to sell Lomo products), and the tips section is a bit of a mess with lots of broken English (though there were a few clever ideas). Nice to see a lot of toy camera users I know (online) throughout the book. Some funky layout ideas on a few pages that don't really appeal to me...mostly distract from the photography. Still, overall, a nice addition to my library and a nice, large collection of Holga work from around the world. You can get it from lomography.com for $20 US plus shipping.

Sunday, July 16, 2006

Kodak Brownie Holiday Camera

One more 127 camera to talk about...the Kodak Brownie Holiday Camera. This camera was produced from 1953 to 1962 and cost about $5.


It sports a fixed focus lens and takes eight pictures, sized of 1-5/8 by 2-1/2 inches. Not much else to be said about the camera! Pretty basic point and shoot. No controls other than clicking the shutter. I've only run one roll through, Rex, expired April 1965. These are a few shots not posted on flickr.


A nice, crapped up shot here.


Even though I haven't used the camera much, I like what it does so far. It is small and has a nice frame size. The shutter sounds slow on mine, but the pictures seem sharp, as much as I can tell with all the grain from the expired film. When I get some new 127, I plan on taking it out again!